
Embroidery effect for DTF and UV DTF 3D
A crest or logo that looks embroidered sells better on teamwear and merchandise, but real embroidery is slow and costly on short runs. Sapiens CoreFlow RIP draws the embroidery from the image and, in UV DTF 3D, gives it thread relief.
What it does
In Editor Pro, Effects → Simulated embroidery turns the image into drawn embroidery: it digitises it by colour, lays the stitches in each area's direction and lights them so the thread reads. With “Enable” ticked, the preview updates as you move the settings, on the selected image only.
- Six stitches — tatami, outline, herringbone, chain, cross-stitch and seed.
- Thread colours — how many colours are digitised, or keep the originals.
- Thread thickness — in millimetres, so the stitch scale is believable at the real size of the piece.
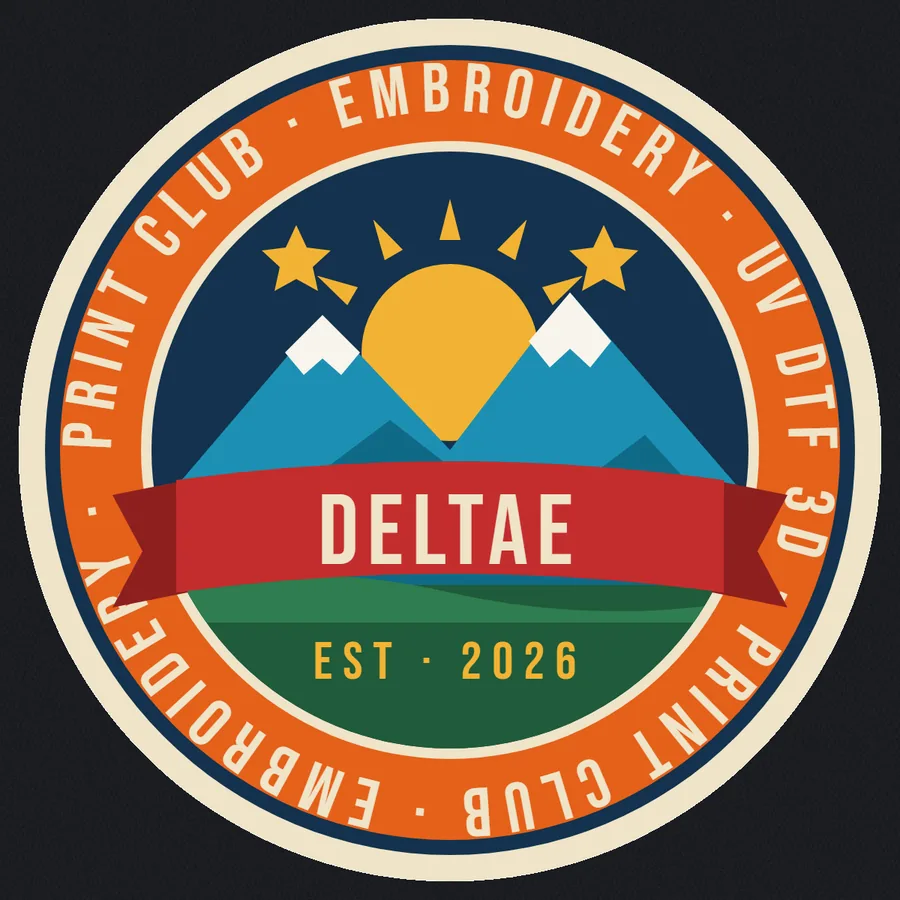
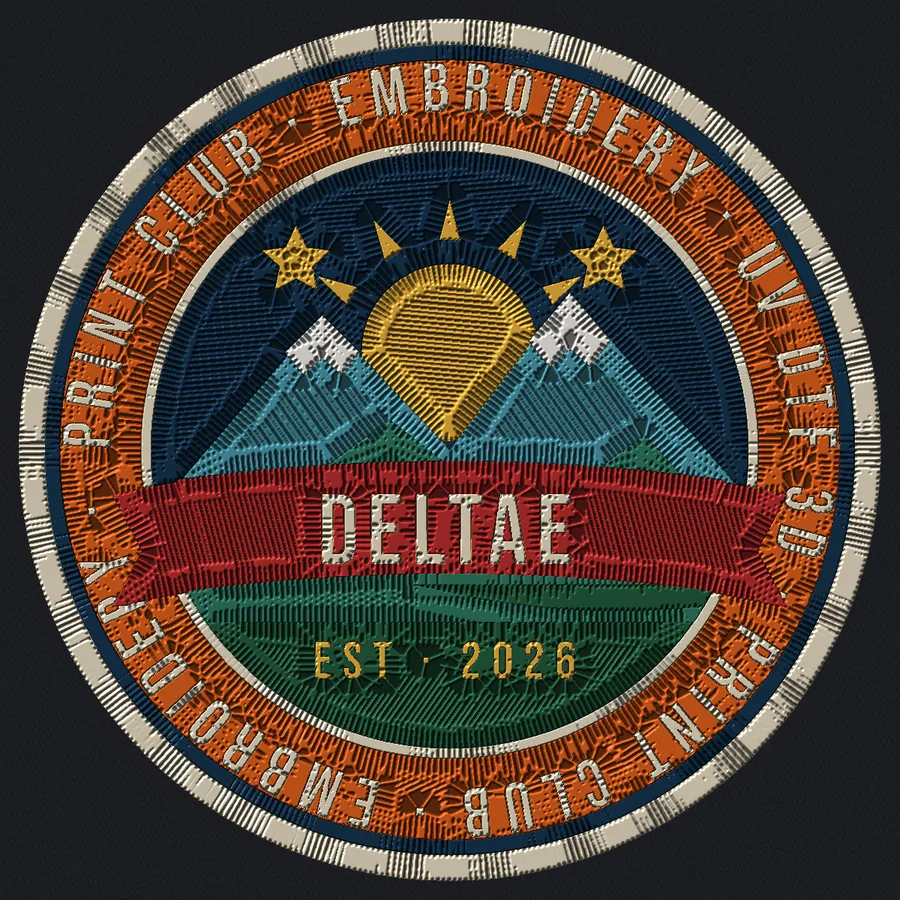
Before and after simulated embroidery
The flat patch, and the same patch turned into embroidery at its real size (8 cm): twelve thread colours, tatami stitch and 0.42 mm thread.
In textile DTF: the look of thread
In DTF the result is an image: the transfer stays flat, but with the drawing and light of embroidery. It is useful for quick samples, for short runs where real embroidery does not pay, and for mixing embroidered and transferred pieces with the same look on one garment.
In UV DTF 3D: real relief
In UV DTF 3D mode, the Create relief spots box makes the same stitches generate two new layers, added to the ones the job already has:
- White = thread relief, with the gap between stitches left empty. That gap is what makes it read as thread and not as a plate.
- Varnish = gloss, only on the thread ridges.
Thread relief, under the light
This is the real height map the embroidery produces: the same one the white (relief) and varnish (gloss) spots come from. Move the mouse over it to change the light and see how the gap between stitches makes it read as thread.
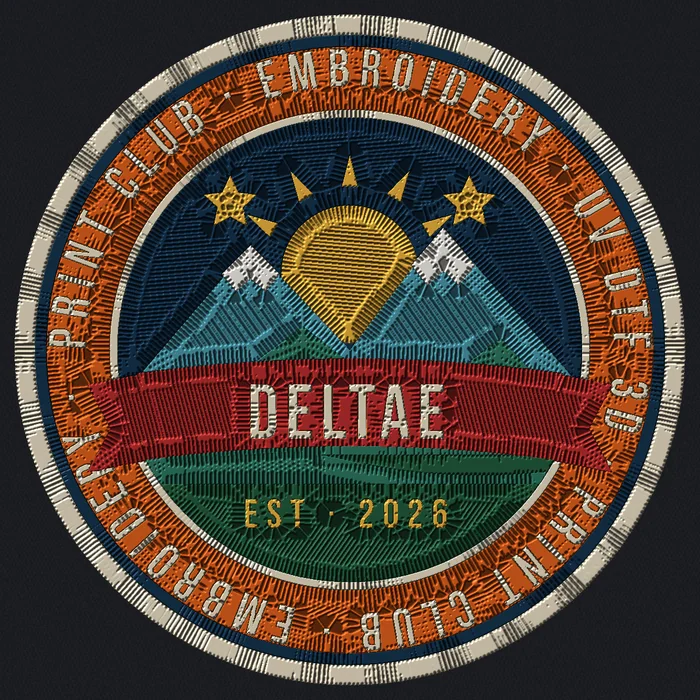 Move the mouse: the light follows
Frequently asked questions
Can DTF imitate embroidery?
Yes, as an image: Sapiens CoreFlow RIP turns the design into drawn embroidery, with stitches and thread lighting, from Editor Pro → Effects → Simulated embroidery. The DTF transfer stays flat; real relief needs UV DTF 3D.
Which stitch types does it have?
Sapiens CoreFlow RIP has six: tatami, outline, herringbone, chain, cross-stitch and seed. You also set the number of thread colours and the thread thickness in millimetres.
How do you get embroidery relief in UV DTF 3D?
With the “Create relief spots” box of the simulated embroidery in Sapiens CoreFlow RIP: the stitches generate a white layer for relief, with the gap between stitches left empty, and a varnish layer for gloss on the ridges. Height is set in each machine's profile.
Do I need to digitise the design first?
No. Sapiens CoreFlow RIP digitises the image by colour and lays the stitches itself; no embroidery file or digitising program is needed.